Hello Friends,
How are you all today?
I am enjoying my journey of Altenew Certified Educator Programme (AECP) and today I am going to share four masculine cards ( Encouragement, Love, Birthday and Anniversary) along with a Upcycled / Altered project with you all which I have made for my final submission of AECP level 2.
I was given a challenge to make four Masculine cards inspired by the classes from level 1 and 2. This was a bit difficult because I have had learnt so many things from amazing classes at both level 1 and level 2. Then I decided to go with techniques which comfort me. I was inspired by
1) CAS Boutique Cards - I love Clean and simple technique. It looks easy but it is not that easy to make CAS cards. I learnt alot from AECP level 1- CAS boutique cards.I kept all 4 of my cards Clean and Simple with loads of White Space. I went ahead with simply stamping and adding the dimensions to my card, I also paid attention towards placement of sentiments but avoided bulking it too much.
2) For the Guys -Making cards for the guys is not that easy but AECP level 1 class has helped me alot. I incorporated geometric patterns like circles,dots, lines in my cards keeping it simple.
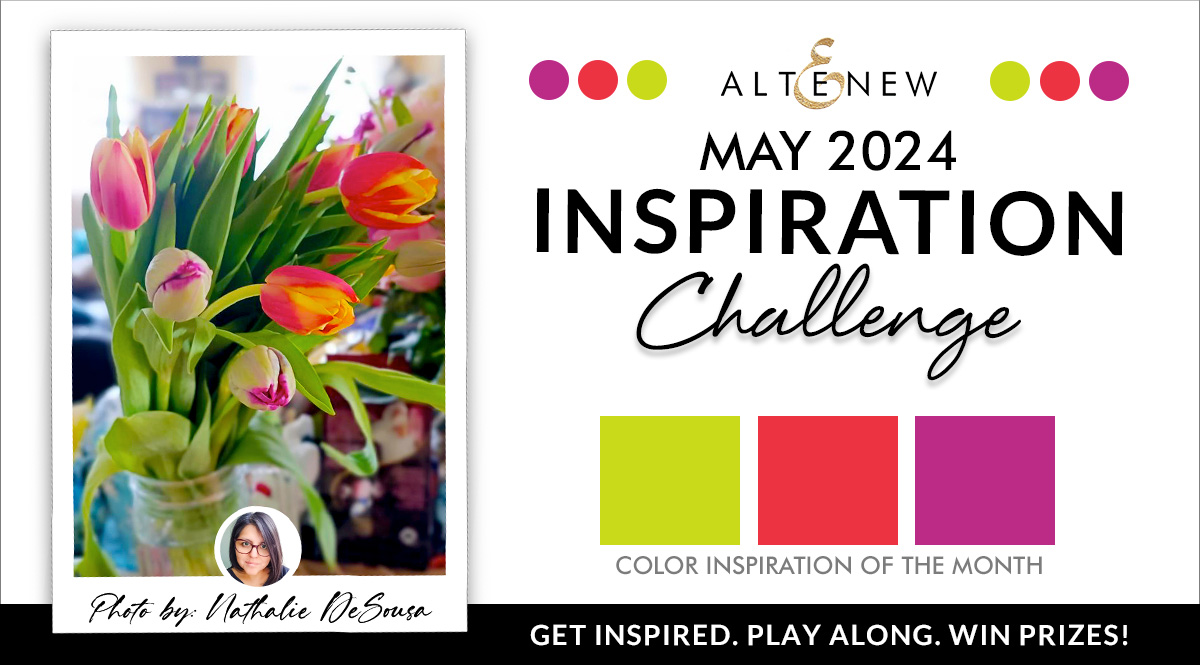
3) Color your Day - I took inspiration from ongoing Altenew Inspiration Challenge where Nathalie has shared a beautiful color combo which I loved a lot and thought it will be perfect for my Masculine cards
This is the Color Inspiration
Now Let's move towards the cards,
CARD 1
My First card is Encouragement card. For this, I used Altenew Playful Leaves Stencil and Midnight Moth Stampset. I started with Stenciling using Playful Leaves Stencil and Weathered Wood Distress oxide ink. I used Circle mask stencil too. I stamped beautiful Moth image from Midnight moth stampset on bristol smooth paper and colored it using zigs real brush pens. I then fussy cut the image and adhered it on stencilled background using foam adhesive ( For dimension).
lets have a look at it
CARD 2
For my second card, I continued with same color palette and created Clean and Simple Love card. For this card, I used Loving You Sentiment Stamp Set,Die set and Simple coloring stencil set. A CAS card looks beautiful if it has a big focal image. I stamped the big size LOVE on a paper and colored using Coloring stencil and die cut it out. I placed it in the center of white card base using foam adhesive. I stamped the sentiment "you infinitely'' on a strip of paper and pasted it on center image. To create an interest I scored few lines using score board along the 2 corners of the card.
Let's have a look at it
CARD 3
For my third card, I made a geometric floral birthday card and used the same color palette. I used Folksy Florals stampset by Altenew and stamped the beautiful geometric flowers using different inks and made it "one layered card". I stamped the Sentiment from the same Stamp set to finish off my card.
Let's have a look at it
CARD 4
For my next and last card which is anniversary card, I used Timeless Tulips stamp set and coloring stencil set. I stamped the bouquet of Tulips at the corner of white card base and colored it using simple coloring stencils. I also used Blossoming Freesia Simple Coloring and Layering Stencil set to add tiny dots at the bottom to create an interest. going further I changed the position of stencil to create shadow look. lastly, I stamped the sentiment which is from the same stampset on opposite corner of the card.
Lets have a look at it
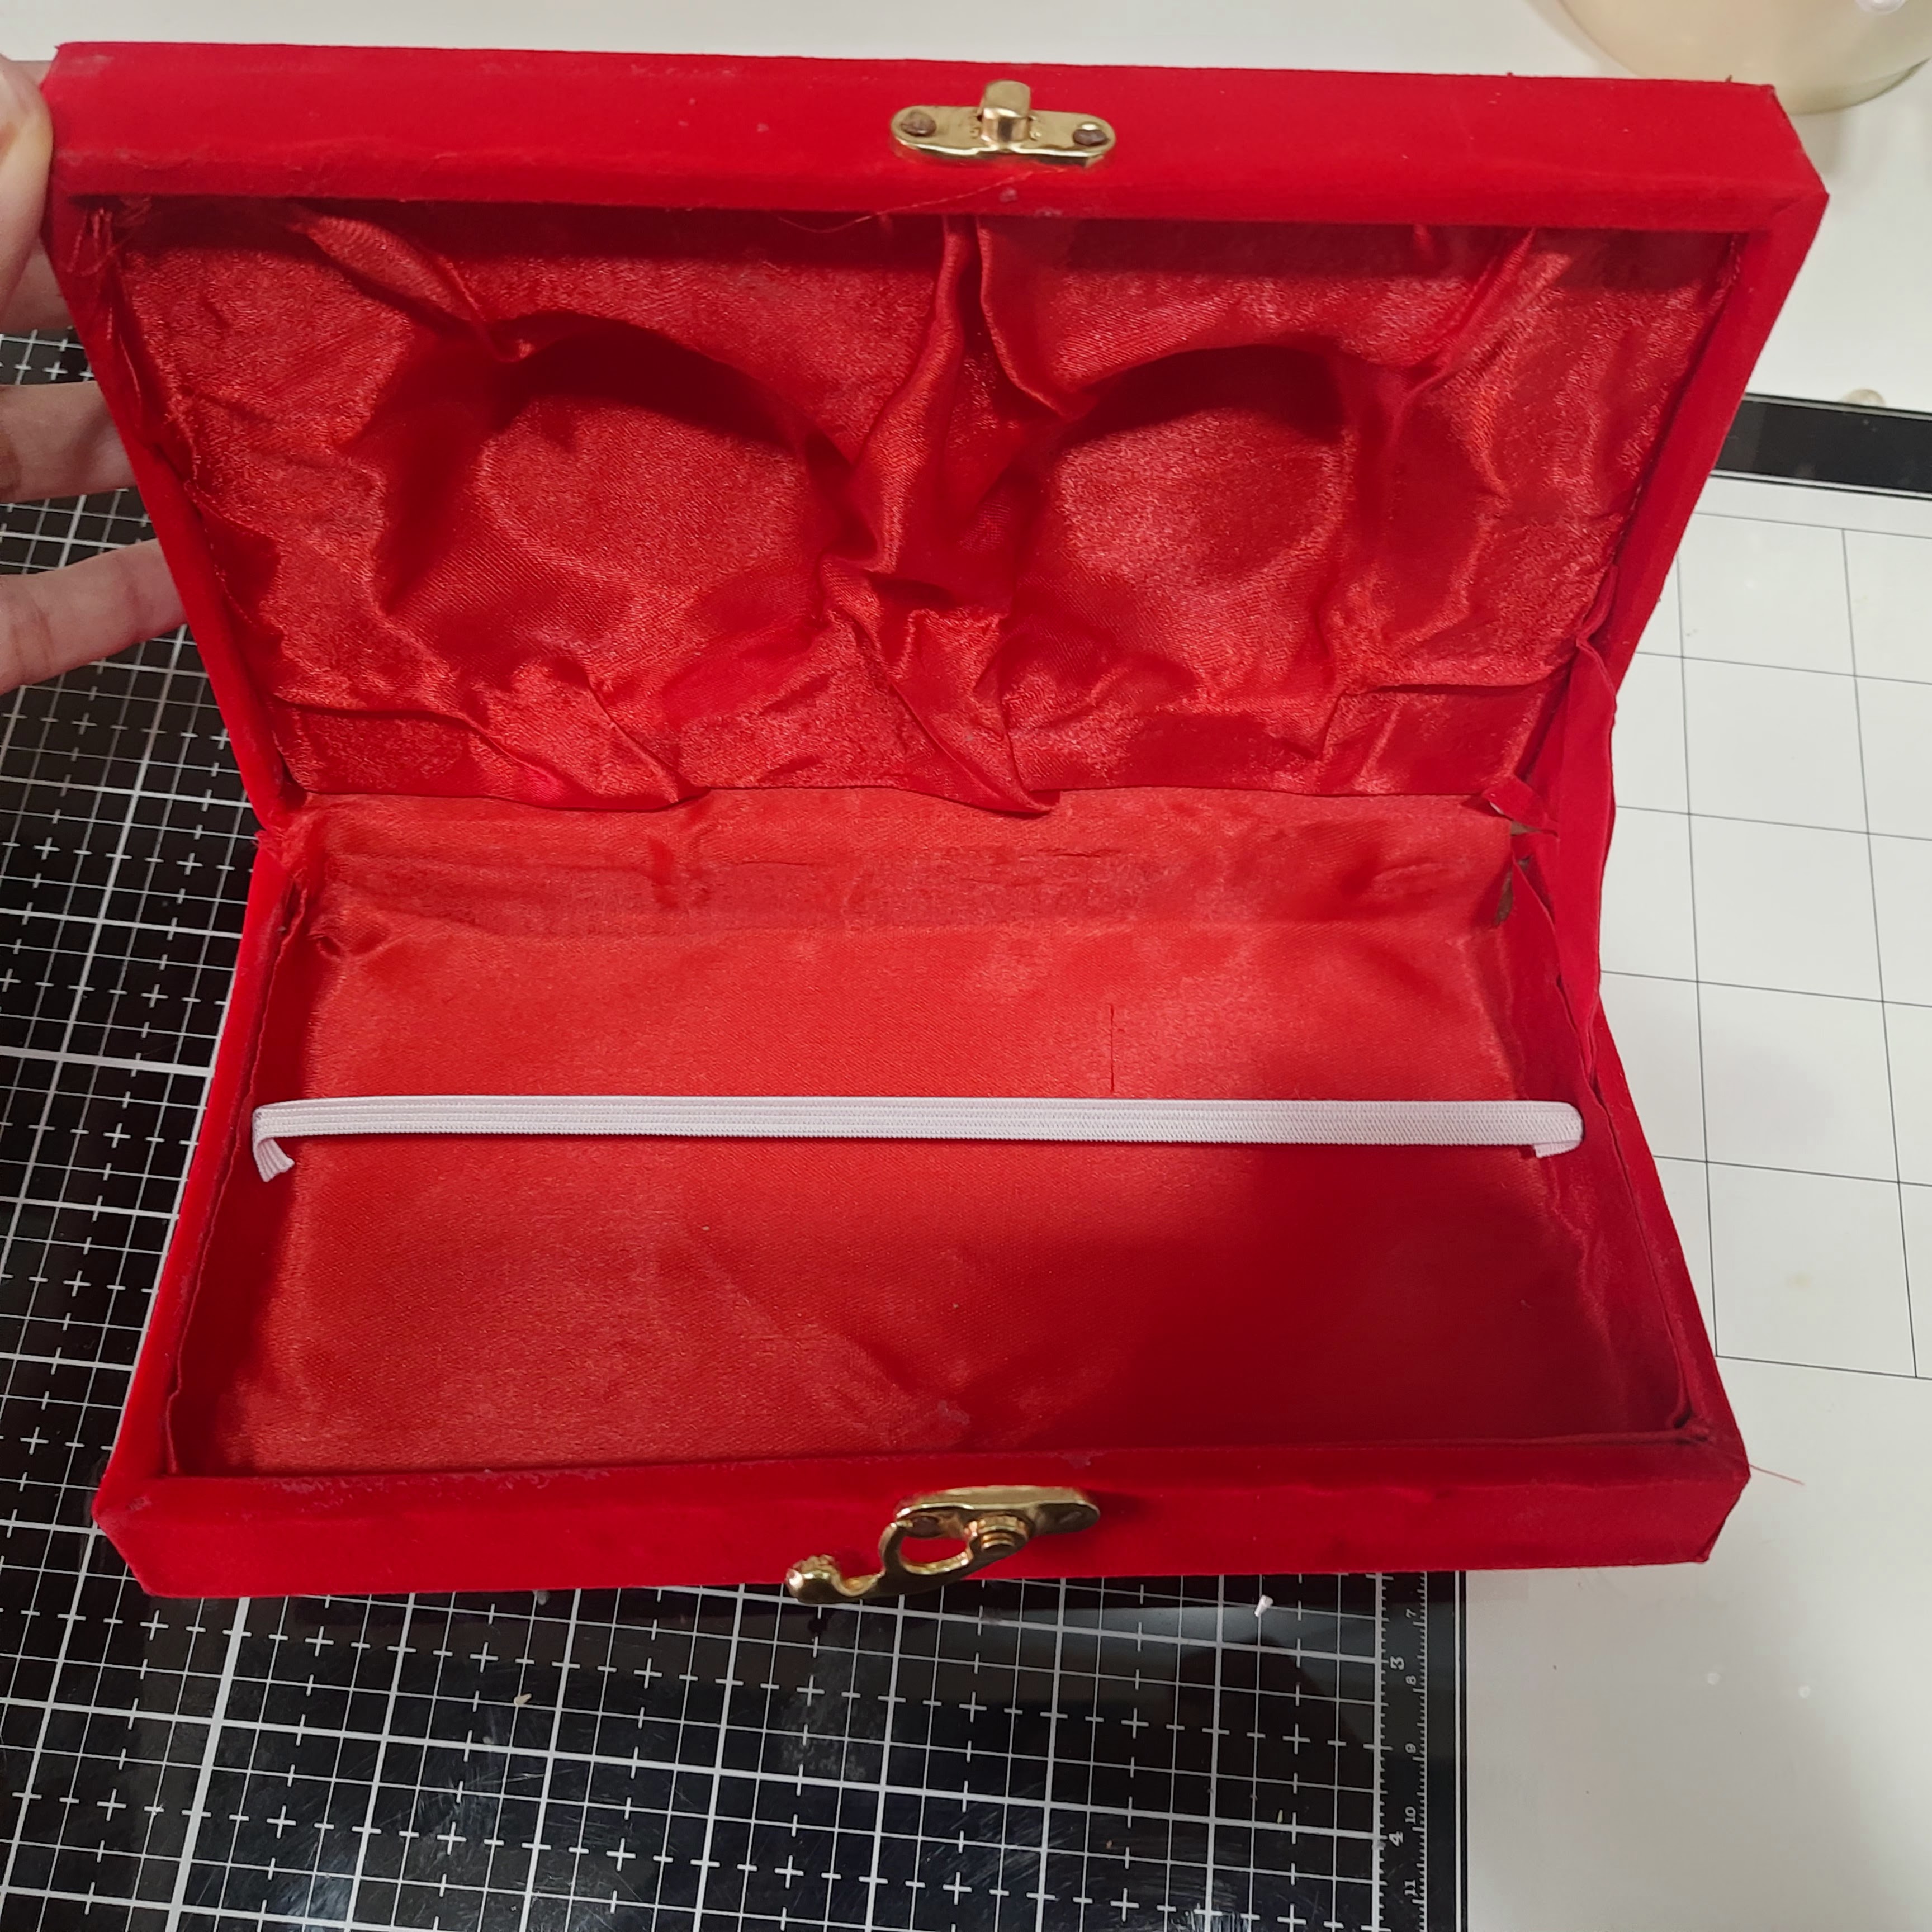
Altered/ Upcycled Project - Gift Box
I altered the wooden box and created a Encouragement Gift box for my cards. I wanted to make a gift box which goes well with all the four cards. I did some mixed media but still kept it a bit simple.
I removed all the red cloth from wooden box and colored it using Blue Chalk paint.
I then used Altenew Sweater pattern stencil with Sparkle paste to create beautiful yet subtle pattern on the box
After letting it dry, I used Denim Blue Color Spray from my stash and sprayed it over the patterned part. I then used Dreamy Feathers Die set by Altenew and made 2 layered feathers using different shades of blue color cardstocks. I adhered the feathers on the Box using Strong Glue. I used wooden chipzebs as sentiment and also used some microfine glitter powder to finish off my altered gift box.
I really loved the way it turned out and I hope you like it too. I don't create altered projects but I am so proud of to be able to make it the way I wanted it too :)
Handy Tips
Last but not the least, I would like to share some handy tips ( though I am not a pro but still I would like to share few things which will help you while creating CAS cards)
1) Remember to keep lots of white space, little bit of Dimension will add interest to your projects.
2) You can incorporate different techniques like stencilling,masking,stamping in one card and still keep it CAS by positioning all the elements properly.
3) Remember that even if you feel it is too little or very less on the card. for CAS cards, Less is always more.
4) Do not bulk the card too much. Think of the design, placement of sentiment beforehand. Use Foam adhesive to adhere the stamped images to create subtle dimension.
5) You can make One Layered Cards (OLC) which are quickies and save lots of paper..lol. Especially when you have beautiful floral stamps like Timeless Tulips or Folksy Floral etc. by Altenew.
I hope it helps
Have a Good Day.
Happy Crafting!!
Participating in


.jpg)


.jpg)


.jpg)


You've truly outdone yourself, Mugdha! Your work is fantastic! I had a thought, that your cards could appeal to men more with colors like turquoise, navy, or olive/green. Nonetheless, what you've created is wonderful! And a great upcycled project too!! Would not have guessed if you just showed the before and after that it was the same box! Well done!
ReplyDeleteWhat a great collection of cards! I really love how you upcycled your beautiful treasure container! It is beautiful, too! Congratulations on finishing Level 1 and 2!
ReplyDeleteYour cards and box are gorgeous!
ReplyDelete