Hello Friends,
I recently finished all the classes from AECP level 1 by Altenew Academy and now I have been challenged to make a set of cards for him and her as well as the packaging for the cards.
Here are the rules for this challenge:
1. Select any 3 components from the classes in Level 1
2. Create two sets of cards, a "His" and a "Hers", to include coordinating gift packaging.
3. Cards need to be a cohesive set for various occasions
4. Incorporate a recycled element, either on the cards or packaging.
I have chosen Three techniques for my cards from all the techniques that I learnt from Altenew classes.
- Clean and Simple boutique cards ( I kept lots of white space on my cards)
- All about Layering ( I used layering stamps and different inks )
- For the Guys ( I used Geometrical shapes,simple design)
There may be other techniques which might have appeared on my cards here and there like Celebrate stencil, Easy Die cutting , Let it Shine etc.
Let's get started
''His'' cards
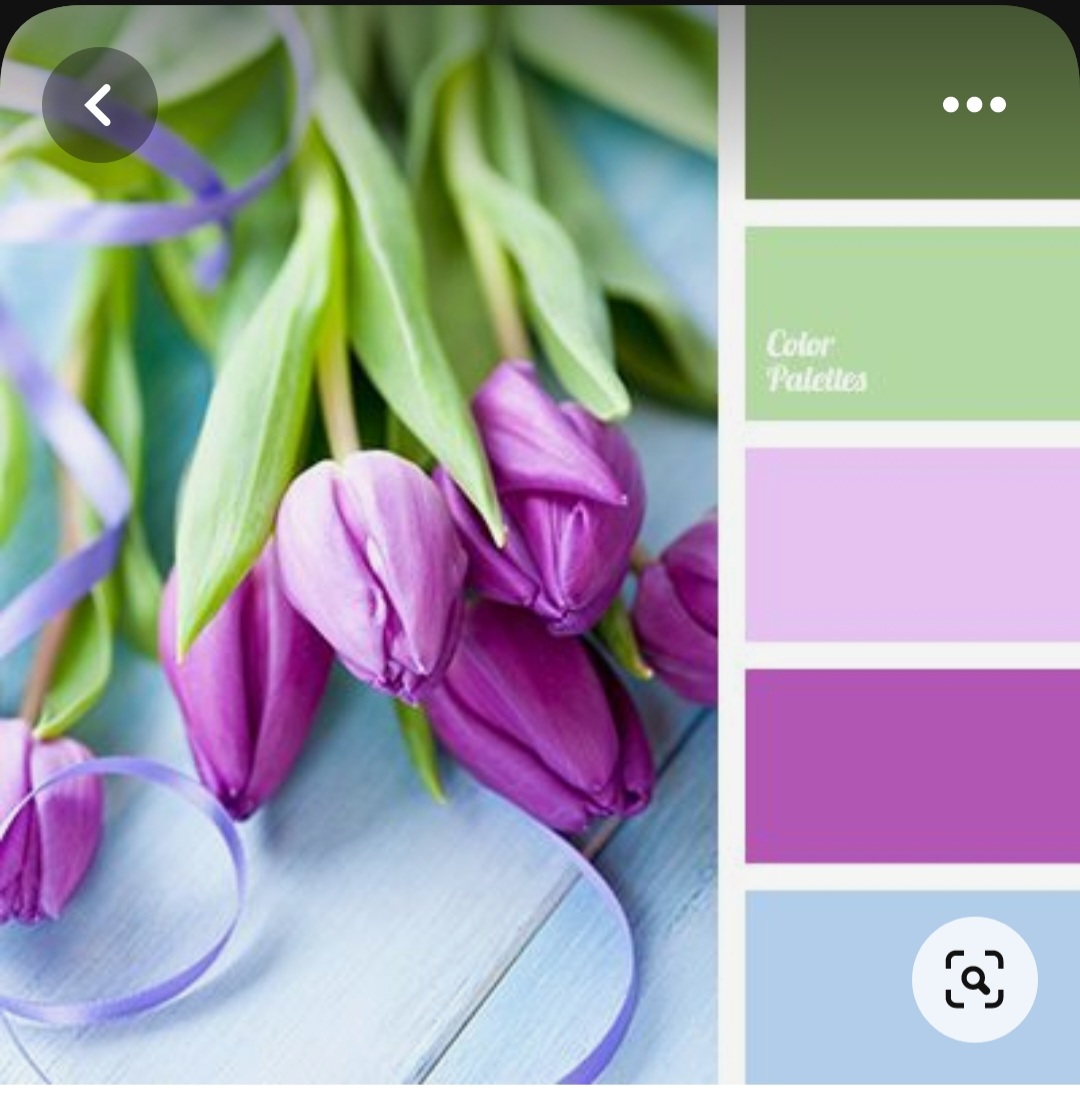
For "His" cards , I searched for few color combos which will be apt for masculine cards and will give a fresh summary look to my cards.
I was inspired by below color palette
Let us have a look
Card no.1
For this card I used Peach tree mini stamp and Summer afternoon inks by Altenew. I love this beautiful mini layering stampset by Altenew. I stamped all the layers using different inks and lastly stamped the sentiment "Adventure awaits" from Big world stampset.
Card no.2
For this card I used Folksy florals stamp, Summer afternoon inks and Sea shore inks. I stamped the flowers and leaves using different layers of stamps and inks and then fussy cut them. I used Fine frames square die set to die cut out a square frame and adhered it on white card base and arranged the flowers and leaves around it. I used sweet sentiments die set for sentiment and lastly, added few enamel dots to finish off my card.
Card no.3
For this card, I used Folksy Florals stampset, sea shore inks and Summer afternoon inks. I stamped all the flowers and leaves using different inks and fussy cut them out. I used Cube cover die to make my own stencil and did stencilling on the background of card using summer afternoon inks. I then adhered all the fussy cut images and lastly,added the sentiment and few enamel dots.
Card no. 4
For this card, I used Gardenia duo stampset and Summer afternoon ink cubes. I started with stamping all the layers of gardenia in the stamp using different inks from summer afternoon ink cubes set. I then fussy cut out all the images and adhered them on white card base. I then stamped some leaves and lastly,added the sentiment.
Card no. 5
For this card, I used three different stamp sets namely Shrub rose, Folksy florals and Linear spiral stampet. I stamped the leaves using Sea shore inks and die cut them all using co-ordinating dies. I die cut out a white panel using octagon die and stamped a sentiment, I then mounted the panel using foam adhesive and arranged all the leaves around it. I stamped small circles around it to finish off my card.
Now it's time to move on towards
"Her" Cards
For making cards for "Her" I was looking for fresh yet feminine color palette and I was inspired by these two Color palettes
Let's have a look at "HER" cards
Card no.1
For this card, I used Peony bouquet stampset, shades of purple ink cubes and Red cosmos ink cubes.
I started with stamping the mini flowers from the set then I blended frosty pink ink over the flowers. For sentiment I used Sweet sentiments die set
Card no.2
For this
card, I used
Angelique motifs stampset, Linear Spiral stampset, shades of purple ink cubes and Red cosmos ink cubes.I stamped floral image from the stampset using different inks from Shades of purple ink cubes
I blended little amount of Frosty pink ink from one corner. Lastly,added the sentiment.
Card no.3

For this card, I used Shrub Rose stampset, Happy Flowers stampset, Nature's wonders ink cubes set and red cosmos ink cubes set. I stamped the beautiful roses and leaves using different inks from Red cosmos inks cubes set and Nature's wonders ink cubes set. I then die cut it out using Co-ordinating die set. I took a white card panel and scored few lines on the left (difficult to see in photograph) .I then arranges all the flowers and leaves and lastly, added the sentiment.
Card no.4
For this card, I used Angelique motifs stampset, shades of purple ink cubes set and Nature's wonders ink cube set. I stmaped the flowers and leaves. I die cut out a circle from a white card panel and added the negative frame over the flowers. I stamped the sentiment on a strip of paper and adhered it in the middle using foam adhesive. lastly,added few enamel dots.
Card no.5
For this card, I used winter rose stampset, Red cosmos ink cubes set and Nature's wonders inks cubes set. I stamped the flowers and fussy cut them out. I then adhered them using foam adhesive on a white card base. I used Gold mirror cardstock and Tall alpha lowercase die set to die cut out 'mom' and lastly stamped a sentiment to finish off my card.
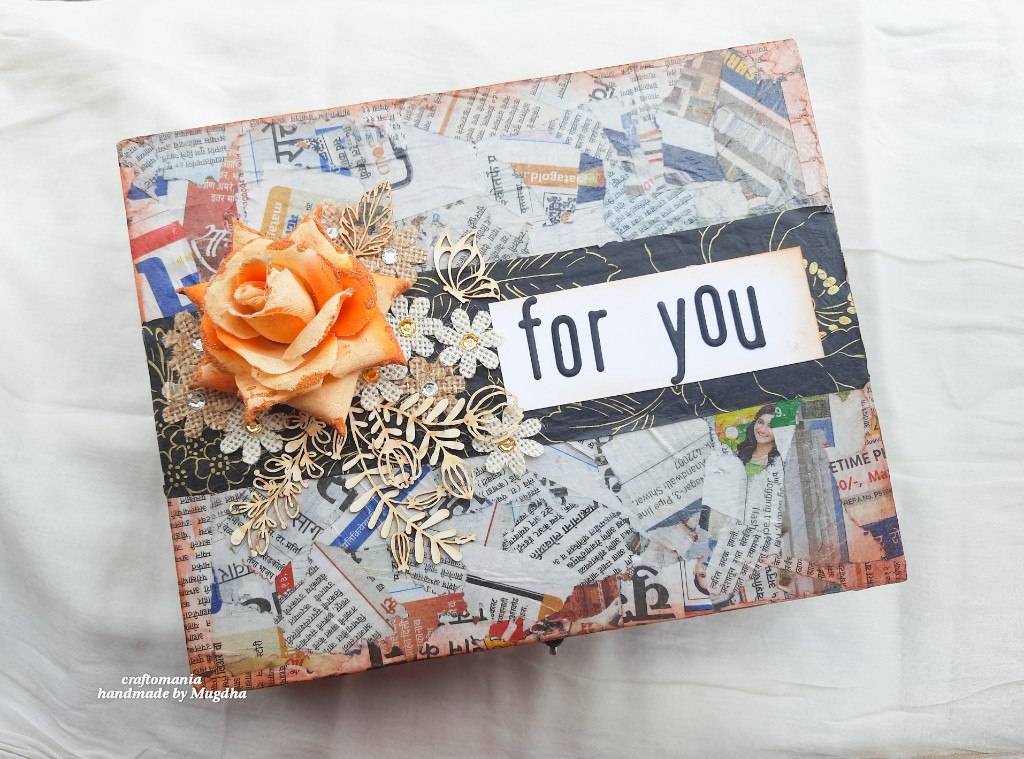
Now, It's time to see the packaging I made for these cards, I used a old wooden box to create a gift box for my cards.
Along with old wooden box, I also used old Newspapers. I started with cleaning the box using sand paper. I then applies Decoupage glue and started sticking pieces of newspaper.
I then used caramel toffee ink from Summer afternoon ink cubes set on the edges of the box to give it a bit vintage look. I kept the Altenew packing paper ( as it was beautiful) which came with my order and thought to use it over my box. I also used a flower ( Which was from a broken vase) , tiny MDF cutouts, fabric flowers to decorate my box. I used Tall Alpha lowercase die for sentiment '' For you" and adhered it on a strip of white paper.
and here is the final look of my BOX

I used Altenew Packing paper inside of my box to pack my cards . I am happy the way this box turned out as I tried decoupage technique after long time and also I wanted a Unisex design for my box.
Thank you for reading this long post and I hope you like my efforts.
Happy crafting!!
.jpg)
_wm.jpg)


_wm.jpg)
.jpg)
.jpg)
.jpg)
.jpg)


Mugdha!! I am absolutely IN LOVE with your cards!!! With the clean lines and pristine look they are absolutely breataking!! Well done on your final challenge!!! Bravo!
ReplyDelete